Showing posts with label garden. Show all posts

Monday, November 5, 2012

Fried Green Tomatoes

This is something that I have been wanting to make for a very long time.  Whenever I see fried green tomatoes on the menu, I will always get them.  Some of the best fried green tomatoes I've ever had were at the Dinosaur BBQ in Harlem.  They serve them crispy and hot with this tangy, spicy, creamy dressing and they are to die for.

There weren't any posts about my garden this summer because my garden was mostly non-existant.  The basil did well, until I cut it all up to make this pizza, and my dad planted beans so we were able to get about a single harvest of green beans.  However, the tomato plants I grew from seeds did not do too well, and we were left with lots of green tomatoes on the vine; tomatoes that refused to turn red.  So I decided to slice them up, bread them in my favorite breading, and deep fry them to perfection.

I've been told that there are different green tomatoes that you're supposed to use for fried green tomatoes, but the unripened tomatoes in my backyard worked just fine.  I served them with some Chipotle Ranch dressing and it was like I was at the Dinosaur BBQ.  They're crispy, yet the tomatoes retain a lot of their juice even after frying.  Also, we heated a few up the following day in the toaster oven and they were still crispy.  If your garden was a dud or if you happen to find green tomatoes at your grocery store, this is an excellent way to use them.


Fried Green Tomatoes
Serves 6 – 8
Prep time: 5 minutes
Cook time: 2 – 3 minutes per batch

Ingredients
- 2 c oil or vegetable shortening for frying
- 3 green tomatoes, sliced
- 1 c flour
- 3 eggs, scrambled
- 1 c Panko bread crumbs
- 1 c Italian bread crumbs
- Dash of garlic powder, salt, and pepper

Directions
Heat the oil in a medium sized pot until the oil reaches 350F. 

Grab 3 bowls and place the flour in one, the egg wash in another, and the Panko, Italian breadcrumbs, and seasonings in a 3rd.  Dredge the green tomato slices in the flour, then coat in the egg wash, and then coat in the bread crumb and seasoning powder. 

Place 2 or 3 slices into the oil at a time, depending on the size of the pot.  You do not want to overcrowd your pot because it will drop the temperature of the oil dramatically.  Keep the oil between 325 and 350F.  Fry until both sides are golden brown (about 2 – 3 minutes each piece) and then place on a plate lined with a paper towel to drain.  Sprinkle the fried green tomatoes with a little bit of salt to keep them crispy.  Serve immediately with chipotle ranch dressing. 

An Ali B original


Friday, May 18, 2012

Getting the Garden Ready

This year, I decided to start my garden from seeds.  I planted some seeds I froze from last year, except those didn't grow.  The pepper seeds were brown when I pulled them out from the freezer, and the cucumber seeds were pretty wet after I let them thaw in the fridge.  So I didn't really have high hopes for them from the beginning, but I wanted to give it a shot.

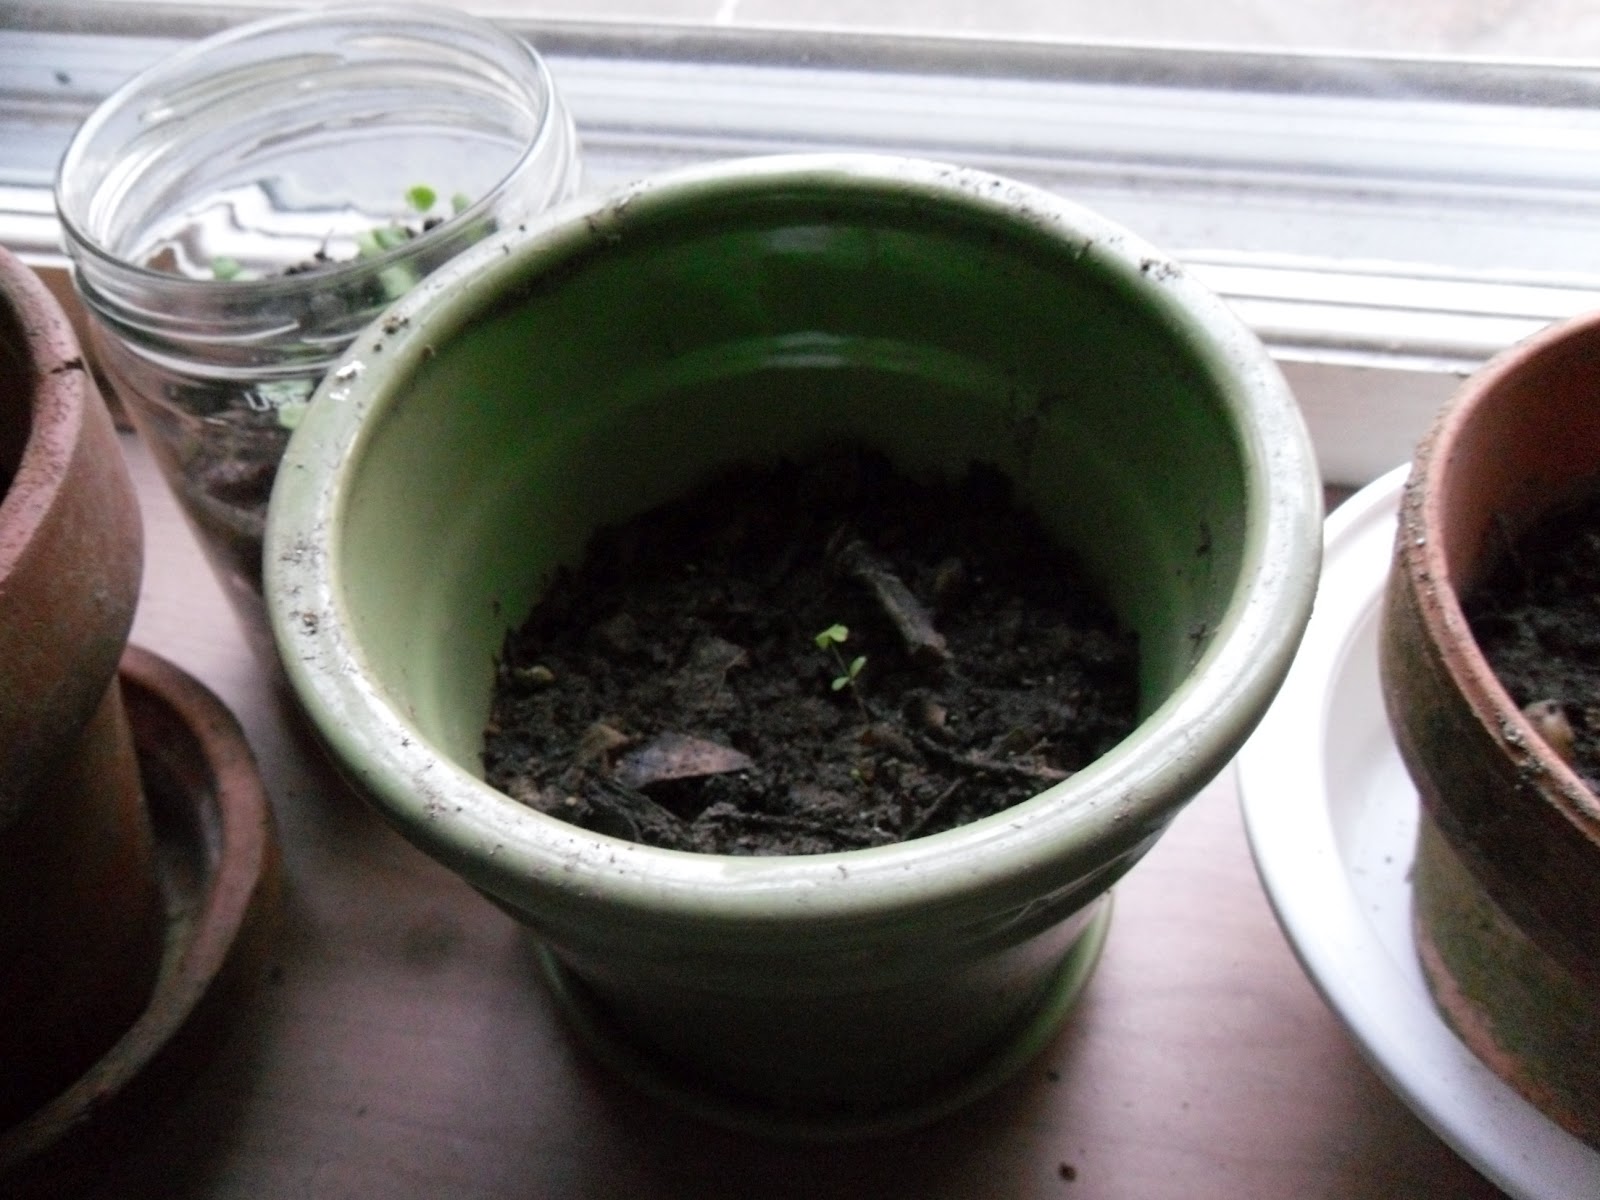
The seeds that I bought at the store, however, have been doing very well.  I split the tomato seeds between two pots and put the basil seeds all in one.  I know I should have bought those little seedling containers that look like ice cube trays, but I wanted to use the pots I had in the backyard.


I also wanted to try something new - I recycled a salsa jar and used that as a pot!  It worked pretty well; the basil is growing nicely and the dirt stays wet for days.  Well, actually, It worked well until I had to transfer the basil plants to a bigger pot.  I should have probably used a spoon or something to get the seedlings out, but instead I went at it with a shovel and they all kind of fell out.  Some seedling stems snapped, the others I had to cram back into the dirt, so needless to say, they're not doing so well right now.


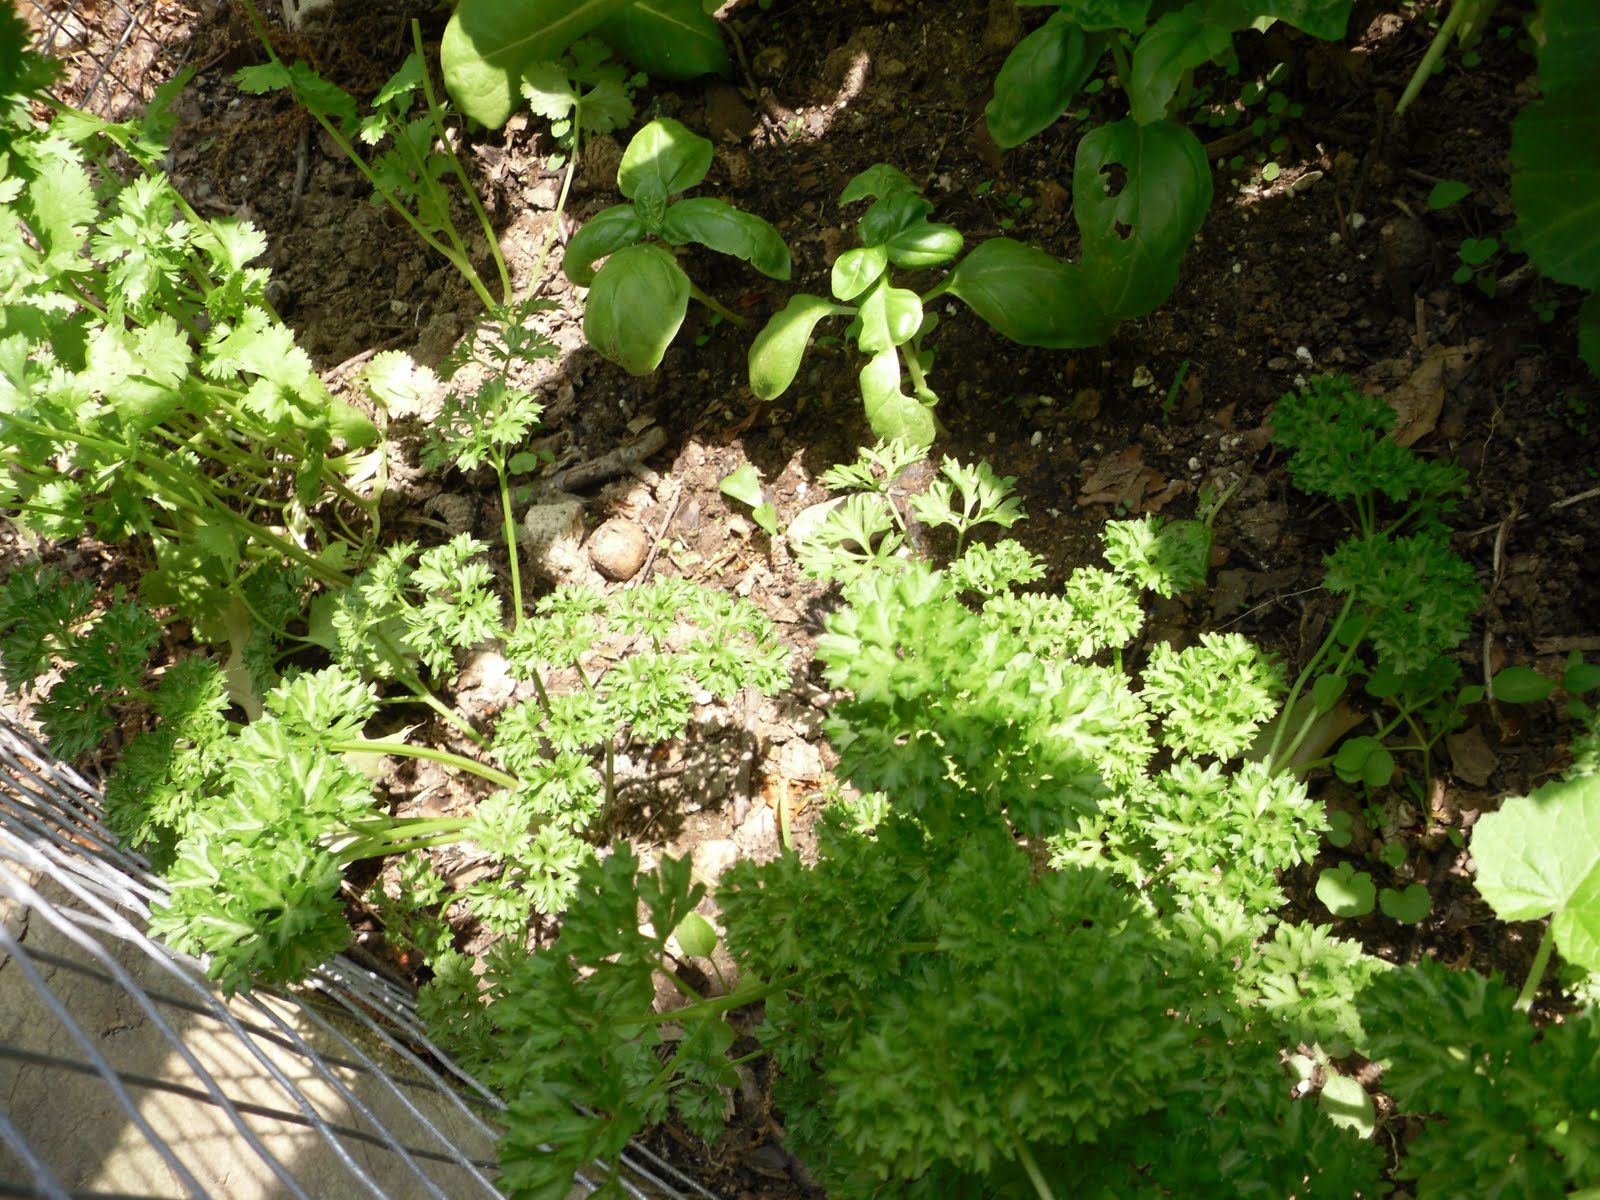
I then had to get the garden plot outside ready.  I pulled all of the weeds and turned over the dirt, so it's ready to go.  And some parsley is already growing in the garden plot!  I didn't realize it would come back every year.  My mint grew back nicely too, but it's doing something kinda funny.  When I bought my peppermint plant last year, it grew in a vine.  When it grew back this year, it grew straight up and it actually looks like a spearmint plant.  Any thoughts?

Anyway, the weather seems to be getting warmer, and I wanted to bring my plants outside now they're getting bigger.  However, when I went to weed my plot, I noticed my tiny basil plants, the ones that I mangled, now have holes in the leaves!  Stupid bugs.  So I might keep the tomato plants inside a little longer.


Right now I have parsley, basil, mint, chives, and tomatoes for my garden, and I'm going to get some cucumber seeds for the garden as well.  I am certainly not going back to zucchini because it was such a failure last year, but does anyone have any suggestions for what else I can plant?  I think I can fit one more thing...

Thursday, August 18, 2011

Nature

Sometimes nature sucks.  Believe me, I know, I worked in nature for a year.


Sometimes nature is a chipmunk that likes to jump into your garden and eat your ripe tomatoes.  And leave traces of said eaten tomatoes all over the garden and patio as if to say "your fence stinks."

Sometimes nature is a groundhog that likes to climb over your fence (yes, that actually happened), realize it's trapped in your garden, and crush your zucchini plant in a panic.

Sometimes nature is a zucchini plant that refuses to provide for you, even after you try fertilizing it by hand and even though everyone else is getting overrun by giant zucchinis.  So what do you do?  You rip that zucchini plant out of the ground because that little plot you fenced off for your garden is already overloaded beyond capacity.

But sometimes nature is really awesome, in the form of a golden orb spider, that has spun her web between your tomato plants and is wrapping a bug that she just caught and eating it right before your eyes.  Crazy.

I guess nature is still pretty cool after all.

Saturday, August 13, 2011

The Mojito, revisted

The food blogging community has been inundated with different fruity cocktail drinks throughout a good part of the summer.  Some of the drinks had only 2 ingredients while others could have up to 6 but one ingredient that stayed fairly constant was simple syrup.  I had never heard of simple syrup before but it is actually a "simple" "syrup:" 1 part water to 1 part sugar, pour into a saucepan and boil until the sugar dissolves (which literally takes under a minute).  This is a great alternative to trying to get sugar to dissolve in your mixed drink.

So with this new concoction in hand, I decided to revisit my recipe for mojitos.  I was also lucky enough to have some spearmint growing in my beach house's backyard, while at home I only had access to peppermint.  I feel like the peppermint did not have a strong enough flavor for the mojito and found myself stripping my plant bare whenever I wanted to make a pitcher.  With the spearmint, you only need about 6 or 7 large leaves to get a sweet, minty taste.  I'll definitely be taking some home to plant in my backyard.

To really bring out the mint flavor, I decided to throw the mint leaves in with the simple syrup while the sugar was dissolving.  I brought the mixture to a boil, stirred it until the sugar dissolved, and then muddled the mint leaves once the syrup had cooled back down to room temperature.  Everything else I basically kept the same.

The simple syrup and spearmint combination makes for a very sweet mojito, which I enjoyed immensely. There is a downside (or maybe an upside?) to this, however: the sweetness masks the alcohol in the drink.  I started with a cup of rum and could barely taste anything over the spearmint, so I added more lime and more rum.  The lime cut into the sweetness slightly but I still couldn't taste any alcohol.  After adding about 1 1/2 cups I decided that would have to be enough and believe me, it was.  This is a very delicious and sweet treat and I'd certainly recommend playing around with the proportions in order to get your preferred taste.


Mojito (pitcher)

Ingredients
6 – 7 large spearmint leaves
1 c sugar
1 c water
2/3 c lime juice
1 ½ c of rum
1 L club soda
Lime slices

Directions
Place the water, sugar, and spearmint leaves into a pot and bring to a boil, stirring until the sugar has dissolved.  Remove from heat and allow the syrup to cool to room temperature.  Muddle the mint leaves until they become fragrant, about 1 minute.  Pour syrup into a pitcher and add the lime juice, rum, and club soda.  Stir to mix and serve over ice.  Garnish each glass with a slice of lime.  

Saturday, July 30, 2011

The Food Processor Gets a Workout Day 4: Bruschetta

Jersey may have a lot of things that give it a bad name (believe me, I know, I'm going to Wildwood this weekend) but tomatoes are not one of them.  There is nothing more delicious than a Jersey grown tomato and I'm so happy to have tons of tomatoes turning red on the vine.  Picking cherry tomatoes right off of your plant and not having to worry about rinsing pesticides off of them before popping them into your mouth is such a nice feeling.  This week, I read an article in the Bergen Record about tomatoes from Florida and I was horrified.  The article is pretty intense, especially when you read about all of the slavery cases on south Floridian tomato farms, but the fact that they gas their tomatoes to turn them red instead of letting them grow on the vine naturally is almost as disgusting as the slavery charges.  I'm sitting at my kitchen table now looking at the tomatoes we bought at the supermarket earlier this week and I have to say I'm happy that they're bruised and misshapen, at least I know they're real. 

But they do not compare to the delicious Jersey tomatoes growing in my backyard.  When I made this bruschetta I didn't have any large red tomatoes on the vine so I used cherry tomatoes instead.  Just like every other recipe this week, I threw the ingredients into the food processor and let it do the rest.  I absolutely love bruschetta served on crispy bread or sprinkled over pizza.  It's a perfect appetizer for a summer party or maybe as a side to your pasta dinner with pesto?  Followed by a dessert of raspberry sorbet?  Oh how I love my food processor!

This bruschetta is very light and, like the salsa, be sure to leave it in the fridge for a few hours to let the flavors meld together.  Serve it on toasted ciabatta bread or my favorite: these little mini toasts from Trader Joe's.  Seriously, how cute are these?

Remember, this is the last day to get your submissions in!  I'll pick my favorite over the weekend to make in my food processor and share with all of you :)


Bruschetta
Makes about 2 cups

Ingredients
- 2 cloves garlic, peeled
- 1 c basil, packed
- 2 tomatoes, ends cut off and quartered
- 1/3 of a red onion, outer layer peeled and quartered
- 1 tbsp olive oil
- 1 tsp balsamic vinegar
- salt and pepper, to taste

Directions
Add garlic and basil to the bowl of a food processor and pulse until minced.  Add tomatoes and red onion and pulse two or three times until diced.  Add the olive oil and the balsamic vinegar through one of the holes on the cover of the food processor and pulse once or twice to combine.  Pour into container and add salt and pepper to taste.  

Tips for using your food processor
- When you have to dice vegetables using your food processor but still have more ingredients to add afterwards, leave the vegetables a size or two bigger than you would prefer.  

Friday, July 29, 2011

The Food Processor Gets a Workout Day 3: Basil Pesto

For weeks, my basil plants were being suffocated by my zucchini plant, whose broad leaves blocked the little basil from reaching the sun.  My dad removed the Wisteria vine that was also threatening to take over our backyard and we had a nice little empty plot of land.  I debating whether or not I should relocate my basil plants and my mint plant (which is still in the pot for fear of it taking over my backyard as well) to this little plot of land.  I was pretty nervous about doing so because (a) it was not protected from the groundhog by a wire fence and (b) was in direct sunlight for most of the day, making the ground very dry.  I decided to go ahead and try it anyway, but during that first week some of the leaves on the basil plant were starting to wither and I was nervous that this plot wasn't going to work.  This past week, however, the basil seemed to shoot up about a foot and I finally have enough to make some pesto.

Oh so back to the groundhog...remember the first post about my poor plants being eaten before they were even planted in the ground?  Well my dad thought he had fixed the groundhog problem for good not only with the chicken wire fence we put up around our vegetables but the chicken wire patches he put underneath our fence.  A couple mornings ago, I woke up pretty early and saw Shadow standing at alert in my parents' room, nose pointed towards the window.  Anyone seen the movie "Up" when the dogs all go "POINT!"?  That's what Shadow looked like.  I looked outside to see a fat little groundhog scurrying across the lawn.  I started yelling and Shadow started barking and the thing took off back across the yard and underneath the fence.  I thought that after that my basil plants would be history but the fat little thing hasn't been back since! Ha!

Like salsa, I feel like everyone has their own favorite variation of pesto.  My favorite was pesto mayonnaise - I discovered it in college when my friend and I went to a cafe for lunch and she ordered a grilled cheese sandwich with pesto mayo.  So delicious!!  It was so simple too - a grilled cheese with red onion, tomato, and two or three different types of cheese slathered in pesto mayo.  I will certainly be making that sandwich now that I have my own pesto (and with my food processor I can even make my own mayo!).

This recipe was incredibly simple: pesto, garlic, some oil, and some salt all in the food processor.  I know that pine nuts are a staple in many pestos, but I'm not really a fan...

There are so many different things you can do with pesto - put it on pasta, on garlic bread, on meat or chicken, on pizza, the possibilities are endless!  And as always, fresh pesto (like the salsa) is so much more delicious than anything you can buy at the store.  And it's so incredibly easy to make!  I would definitely recommend doubling the recipe if you plan to use this pesto on pasta or pizza, since it will only make about 1 cup.  I hope I'm soon overrun by basil so I can continue to make pesto throughout the summer.

Add olive oil slowly through one of the
holes in the cover of the food processor
Pesto
Makes about 1 cup
Ali B original

Ingredients
- 2 c basil, packed
- 2 cloves garlic, peeled
- 2 tbsp olive oil
- salt, to taste

Directions
Add basil and garlic to food processor and pulse until the leaves and garlic are minced.  Add the olive oil through one of the holes in the cover of the food processor 1 tbsp at a time until the pesto becomes creamy and runs down the sides of the food processor bowl.  Add salt to taste.  Store in fridge.  

Tips for using your food processor
- Don't hold down the chop or grind button, pulse it instead.  If you hold down the button and keep the motor running for too long at a time that little motor will burn out quickly.  

Wednesday, July 27, 2011

The Food Processor Gets a Workout Day 1: Salsa

Months ago, I had become obsessed with the thought of a food processor.  I saw it as something that could mince and chop and grind and puree for me and open up doors for new and more complicated recipes.  Plus, since my kitchen will not hold a KitchenAid stand mixer, this little appliance was pretty much the only thing I could get.  I had scoured the Internet for the best deal only to find this one in Costco for $25.  I thought I couldn't go wrong because it was a Cuisinart, so I decided to go ahead and get it.

Well for about 2 weeks after that it sat in its box on my counter.  And then for an additional two weeks after that it sat in its box in the cabinet underneath my oven.  Well this week that little guy is getting a workout because the tomatoes are red and the basil is finally starting to grow back after being overshadowed by the stupid zucchini (yup, still no zucchinis).  Plus, my mom had been threatening to "take the stupid thing back" so I decided it was about time to crack open the box.

All of the recipes I had written on my little sticky note on my desktop (Mac users - why won't they let you have more than one sticky note? Drives me insane) are about to be made.  This week, I will be making recipes centered around my food processor and I need your help!  I have four recipes already picked out and would love a suggestion for a fifth.  Please feel free to leave any recipes in which a food processor is utilized in the comment section below and I will choose one to make at the end of the week!  Exciting, right?  Also, with each recipe I hope to include some tips on using your food processor at the bottom of each post.

Now, each of the recipes I will be making is fairly simple, yet everyone seems to have their favorite variation of each.  I feel like salsa is the prime example.  It can come mild like tomato paste or melt-your-face-off spicy.  It can be made with tomatoes, peaches, or mangoes.  It can go on top of chicken, steak, pork, or my favorite: a plain tortilla chip.  I love salsa.  My favorite snack at either 3:00 or 6:00 is tortilla chips with a bowl of sour cream, salsa, and cheddar jack cheese.

For those of you who have never eaten International food with me, you may not know that I am vehemently opposed to spicy foods (unless it's a spicy tuna roll - that I will tolerate.  Don't come near me with that wasabi though).  I hate how spicy food makes my lips chapped and my face sweat while I'm trying to enjoy a meal, and plus it really does not agree with my stomach.  When I was thinking up a recipe for salsa, I really didn't even want to include jalapeno peppers, but I didn't want my salsa to taste like tomato sauce either, so I decided that maybe half of a little pepper wouldn't be that bad.  I went to the supermarket and was looking at the jalapeno peppers when a sign above the basket caught my attention: "when preparing, do not touch eyes, face, or mouth with hands.  Wash hands thoroughly after touching pepper."  I was not about to burn my face off for a pepper so I decided to go with a "hot long pepper" which was supposed to have a milder taste.

On a slightly related note, it bothers me when recipes say things like "1 onion" under the ingredients list.  Ok, how big is the onion?  Are we talking pearl onions or vidalia onions the size of my face?  However, measurements like that work for this recipe, because the amount of vegetables you use will determine how much salsa you make.  Just make sure that the majority of your veggie stock is tomatoes and don't worry about exact measurements.  That's the wonderful thing about a food processor: you can just throw stuff in there and that baby takes care of the rest.  A whole tomato, half an onion, half a pepper, few cloves of garlic, some cilantro and there you go: salsa.  Well, you also need a can of chopped tomatoes with the juice, unless you just intend on making pico de gallo.  And you might want to toss in some seasonings.  Regardless, I absolutely loved being able to make salsa in about 15 minutes, regardless of the fact that I'd have to let it set in the fridge for a few hours.

I just had to taste the salsa before it went in the fridge and I have to say, I liked it.  I was pretty nervous about the pepper (especially after licking my fingers and my tongue got that burning sensation), but this long hot pepper is perfect.  You don't taste it at first, but it has this kick at the end of your bite that leaves you saying "whoa" and not "oh my god I have to stick my head in the freezer."  I loved it - I didn't even want to stick it in the fridge to let it stew.  You definitely should though, because afterwards all of the flavors come together perfectly and it's nothing like you can buy in the store.  Seriously though, everyone was so surprised at how easy and delicious homemade salsa is.  Feel free to play around with the recipe so that you can get the perfect salsa as I did.  I have to say, the food processor is off to a good start (please see the bottom of this post for tips on how to get the most out of your food processor).  Also don't forget to leave your food processor recipes in the comment section below!

Salsa
Makes about 2 cups
Ali B original

Ingredients
- 1 lg tomato, ends cut off
- ½ sweet Vidalia onion
- 2 cloves garlic
- ½ long hot pepper*
- 2 tbsp cilantro, packed
- 1 sprig parsley
-  juice of ½ of a lime
- 1 (14.5 oz) can diced tomatoes, liquid reserved
- salt, to taste

Directions
Place garlic in food processor and chop until minced.  Add in tomato, onion, pepper, cilantro, and parsley and pulse until the vegetables are at desired consistency.   Pour contents into a bowl and add canned tomatoes and lime juice.  Stir together and add liquid from diced tomatoes to achieve desired consistency.  Cover and allow to sit in the fridge for at least 2 hours. 

*Note: this amount of pepper will make mild – medium salsa.  For hotter salsa, add the whole pepper or use jalapeno peppers. 

Tips for using your food processor
- When the directions say to "pulse," touch the chop button for literally a second.  The machine acts faster than you think.
- Cut large items into smaller chunks, about 3" wedges, instead of placing them in the food processor whole.
- Make sure that the items you are chopping/dicing/mincing are all uniform in size when you put them in the food processor.  That way, everything you cut will end up the same size (this is why the garlic was placed in the food processor first and then minced before the rest of the ingredients were put in - you don't want minced tomatoes for your salsa).

(Also, I know that this post is occurring in the middle of the week - that's because my weeks start on Tuesdays.  Don't worry, there will be recipes throughout the weekend too!)

Saturday, July 16, 2011

A Different Kind of Fertilizer

It's been three weeks since my last vegetable garden update.  We have a bunch of green tomatoes and cute little cucumbers with bubble-shaped pricklers all over them.  The basil and mint plants are doing fine too.

No seeds...
I was definitely most hopeful about my zucchini plants.  Once we got back from vacation they seemed to flourish and there were small zucchinis popping up everywhere.  However, the zucchinis remained small, the buds would fall off, and they'd start to wither.  One of them even turned brown and rotted.  I had no idea what could be going on, and my dad gave me the seemingly wild suggestion that the plants weren't being fertilized.  How could the plants not be fertilized?

Over the past few years, honey bees have been dying out in huge numbers.  Between infestations of mites and the pesticides that people have been spraying on their lawns, there just aren't that many honey bees around anymore, especially in suburban neighborhoods like my own.  And when I thought about it, I really hadn't seen any bees here the entire summer.  Sad, right?

Although people can't do anything about the mite infestation (except for the beekeepers who treat their hives), anyone who owns a house can do their part.  Interestingly enough, I found out that when bees wake from hibernation the first things they gather pollen from are dandelions and clover flowers.  In fact, the only time I've really seen bees this summer is on lawns with clover.  Now, drive through a suburban neighborhood and take a look at the lawns.  Lush, green, even cut grass free of dandelions and clover, leaving nothing for the bees to collect to make their nectar.  Leave the dandelions alone and if you have a spot in your yard that isn't manicured, grow clover.  Clover fields are so pretty, and those little white flowers are not intrusive and provide tons of pollen for honey bees.  Plus, clover grows better than grass anyway.  Also, the pesticides aren't just killing the plants, they're killing the bees too.  When the bees land on a flower or plant that has been sprayed with pesticides, it can carry the pesticides on their body or in the pollen back to the hive, therefore risking infecting the entire hive with toxins.  And bees have such a terrible reputation to begin with however it's the wasps and yellow jackets that will sting you relentlessly, not the honey bees.  They're just looking for flowers to collect pollen and will only sting you if they feel threatened, say if you step on them accidentally or swat at them as they fly past you.  I could go on and on about the perils of honey bees thanks to everything I learned while working at the National Zoo, but the bottom line is stop spraying pesticides and leave the clover and dandelions alone.

Alright, now that my rant is over, it's time to get to the main topic of this post: fertilizing your own flowers (ew).

Every plant has male and female flowers.  The female flowers are the ones that produce the fruit (or vegetable).  First, you need to identify the male flowers and the female flowers.  The male flowers have an appendage called the stamen, which contains the pollen.  When a bee lands on the stamen, it picks up pollen, then travels to a female flower and deposits the pollen on the pistil.  The plant takes the pollen, uses it to fertilize the egg, and you get your produce.

But back to our original problem: no bees!  What is one to do?  Well one site suggested picking the male flower, removing the petals, and rubbing the stamen on the female flower's pistil.  I felt so dirty just reading that so I decided to go the alternative method and collect pollen on a cotton swab (you could also use a small paintbrush) and rub it on the pistil.  This method of artificial fertilization made me feel less like a flower pervert.  Don't judge me, I really want to make zucchini bread.

The next problem was determining when my flowers would be open.  I checked on them in the morning and at night and didn't see any flowers beckoning me to pollinate them.  Some mornings my male flowers would be open, but not my female ones (another reason why they may not be getting pollinated).  This morning, I went to walk Shadow at 8:30 and I saw two huge yellow flowers - both open.  I brushed it off and assumed they were both male until I saw a zucchini growing behind one of them.  I almost postponed Shadow's walk for fear of the plants being closed when I got back, but Shadow can really be quite vicious so I didn't want to upset him.


The pollen seeds will brush off of the stamen.
Catch them on a cotton swab or paintbrush.
The flowers were still open when I got back, and as I was pollinating them I took a closer look at each flower and they really are beautiful.  I saw pollen on the pistil when I had finished transferring it so hopefully it worked!  Although I think next time I will use a small paintbrush instead of the cotton swab because about half of the pollen I collected just stuck to the cotton fibers.  Happy pollinating!

Brush the pollen onto the pistil.
Doesn't matter where, just make sure it transferred
Update: Picked my first cucumber today and threw it in a salad.  And it had seeds!!  At least one of my plants is seeing some action.

Tuesday, June 28, 2011

Vegetable Garden, After the Flood

We picked a great time to go on vacation.  We got calls from the police department saying that there was flooding throughout the town, but luckily our house isn't near water.  Because I didn't have to worry about our house flooding as long as our sump pump was running, I could instead worry about our vegetable garden.  The cilantro was already growing sideways because the ground was so wet, and when I arrived home from vacation I wouldn't have been surprised if all of my plants had uprooted and moved to higher and drier ground.

When we pulled up at 2AM we were greeted by Audrey II from Little Shop of Horrors in the pot where my squash plant used to be.  The leaves had changed from a broad shape to a narrow, 3-pointed shape, a sign (I'm assuming) that means it's about to bear fruit (or vegetables, rather).  I rushed into the backyard to be greeted by another 3 foot tall squash plant that has taken over the entire plot.  The tomatoes and peppers are climbing through the squash leaves, and the cucumber plant is climbing up the fence looking for a way out.  Everything seems to be blooming, except the lettuce which probably isn't growing back and the basil is definitely struggling.  I replanted the basil in pots.  Speaking of pots...the mint is growing so nicely in its own little pot.  Looks like it's time for more mojitos...or maybe mojito cupcakes?

Zucchinis - who knew they were actually
the stem of a flower?
And there's first signs of life in our garden!  A tiny pepper, cucumber, and squash are starting to form.  We're going to have lots of vegetables, which means lots of cooking and finally getting use of that food processor I bought.

Oh and those plants in the compost heap?  Potatoes, from tossing potato skins into the heap apparently.  It's crazy how easy gardening can be.  For now...


Baby tomato
Baby pepper
That blurry fuzzy thing behind the blooming
flower is actually a cucumber

Saturday, June 11, 2011

When life gives you lemons, trade them for limes and make mojitos

I never thought that having wet hair would cost me a job.  I went to an interview with my hair up and wet from the shower I took that morning and that’s what cost me a job.

But this blog is not a place for me to whine and moan.  That job was not important, so therefore losing it was not at the top of my concerns.  It was the reason why I lost it, though, which made me lose it.  But, I had to go to work, so I collected myself and moved on. 

That morning, I had seen a recipe for mojito cupcakes in the newspaper (which I will be making soon I’m sure) and it inspired me to add an additional plant to my garden: mint.  Well, I won’t actually plant the mint in my garden because it is a vine and would take over the entire garden like my squash plant did (even though squash is not a vine, it’s just a giant plant).  On my way back from an appointment, I stopped at the garden center to pick up a peppermint plant, which is where I got the call that I didn’t get the job.  I brought home the plant, potted it, went to work, and sat there thinking of what I was going to do for the summer.  There are still a few more places I can send my application to.  I can also easily supplement my free time (and income) this summer with babysitting and tutoring positions.  And if I don’t get anything for the summer it isn’t the end of the world, it’s not like I’ll be sitting around with nothing to do.  This week I’ve certainly kept myself busy with appointments and getting my substitute application together and some other errands (including creating business cards!).  It’s just that I haven’t gotten two jobs I interviewed for this summer and it’s been discouraging.  So, I decided that this would be a great night to work that new mint plant and make some mojitos.  I invited some friends over and I winged a recipe for a pitcher of mojitos while my friend (who has his bartending license) acted as a backseat bartender and gave me his input.  (Drum roll please) I present to you, my first original Quarter Life Crisis recipe!

Mojito (pitcher)
Serves 5

Ingredients
2 C mint leaves, packed
2 T sugar
1/3 C lime juice
1 ½ cups of rum
1 L club soda
5 slices lime and 5 sprigs of mint (1 for each glass)

Put the mint leaves in a bowl with the lime juice and muddle until the leaves become dark green.  Let sit for about 10 minutes.  Add sugar and stir until dissolved.  Pour the contents of the bowl into a pitcher.  Add the rum and the club soda and stir.  Pour over ice and garnish each glass with a slice of lime and a sprig of mint. 

Notes: If you’re using freshly squeezed lime juice, use about another T or 2 of sugar.  I used bottled lime juice, which was sweetened, so I used less sugar.  Also, we first tried the mojito with only 1 C of rum in the pitcher and it tasted fine.  We added an extra half-cup of rum and it made the mojito taste less like lime juice and more like a mojito, without the alcohol overpowering the drink.  I’d suggest starting with the 1 C of rum and then adding more to suit your taste.  If you do not like mint leaves in your mojito, pour the contents of the pitcher through a cocktail strainer when pouring glasses, but let the mint leaves steep in the pitcher or else your mojito will just taste like lime juice.    

Friday, June 10, 2011

Vegetable Garden


Last summer, I half-heartedly planted a vegetable garden in a small plot in my backyard.  I didn’t really pay much attention to it because by the time I got home from work it was late and I was too exhausted to care.  Plus there was a groundhog living nearby who loved to decimate my vegetables and herbs.  So at the end of the summer I was left with a handful of green tomatoes that were too high up on the vine for the groundhog to reach and this oddly shaped cucumber that clearly suffered from some odd watering pattern.  This year, I vowed to plant and take care of a vegetable garden, complete with a wire fence to keep out that freaking groundhog. 

Garden, complete with wire fence
 I wanted to start my garden from seeds but I acted a little late on that since I didn’t get my garden going until May.  So my parents went down to the local Shop Rite and picked up some tomato plants, a ton of parsley plants, basil plants, and lettuce plants. 

They left them on the ground.  The groundhog had eaten most of them overnight. 


Tomato bud
I was like “that’s it! We’re going to Lowe’s.”  We scoured the garden center for the perfect wire mesh (I knew which one would work because there was a picture of a bunny in a pen on it).  My dad said it wasn’t going to be enough because groundhogs can climb (what?) so he decided he should run an electric current through the fence.  I convinced him not to and proposed a better solution using something I had learned at the zoo: bury the fence about ½ of a foot into the ground.  My dad hammered the stakes into the ground (me with a sledgehammer is hilarious and terrifying) and hooked up the fence.  That little sucker had his last free meal…

Squash buds
So therefore without a groundhog to curb it back my garden has exploded almost overnight.  The squash plant (I think it’s the green squash) has taken over the garden, covering my basil and lettuce plants with its broad leaves.  They seem to be holding their own, and we were actually able to make a salad with some of the lettuce leaves the other night.  There’s nothing more delicious than eating food from your garden, and I’m starting to see tiny buds where tomatoes, peppers, and cucumbers will grow from.  But all of this produce means I need to find some recipes, especially for all of that darn parsley…I’ll keep you all updated

Little update: we have a second squash plant in the front of the house in a giant pot and this morning I saw lots of big yellow flowers!  Yay squash. 

Pepper bud
Basil plants and tons of parsley.
What am I going to do with all of this parsley?

Lettuce plants, the first produce we got to enjoy
from the garden. 
Not sure what is growing in my compost pile, but when
we put compost on our garden there must have been some
pumpkin seeds from Thanksgiving in it, because it looks like
there are pumpkins growing in my garden